Hi, I am Aria, welcome to my life!

How to Walk on Grass, Gravel, and Uneven Ground With a Prosthesis
Walking on Grass, Gravel & Slopes With a Prosthesis: 7 Safety Checks You Can't Skip

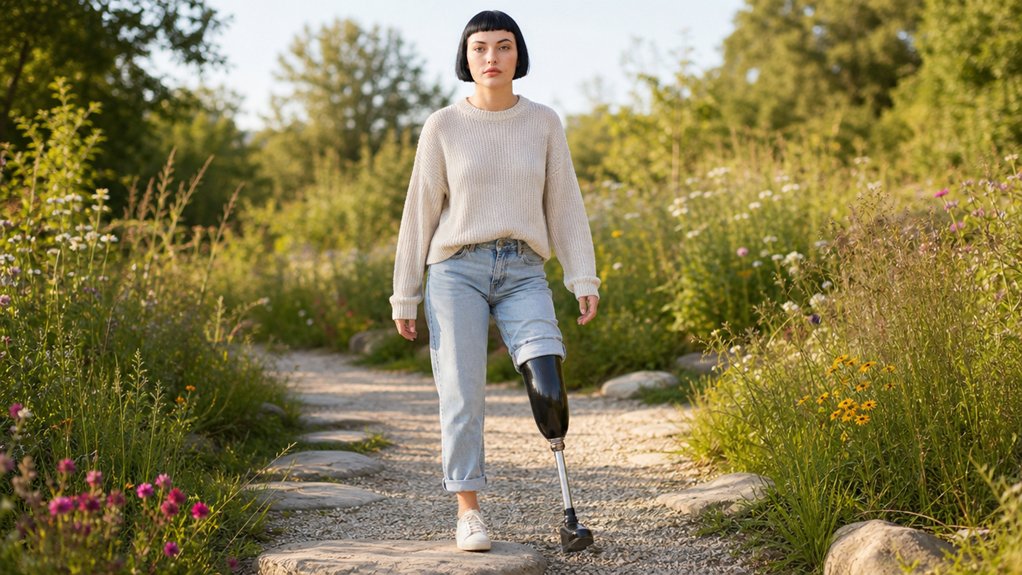
Learning how to walk on grass, gravel, and uneven ground with a prosthesis takes a different kind of confidence than walking on pavement. The good news is that a slow start and a few smart habits make outdoor walking far more manageable than it looks.
Before you head out, check your straps, screws, foot shell, liner, shoe tread, and battery or warning light, since loose parts and mud don’t mix. Then start on firm grass, take short steps, look a few feet ahead, and plant your foot fully with each step.
Keep reading for a simple pre-walk checklist, technique tips for grass, gravel, and slopes, and safety tools like rails, companions, and canes. You’ll also learn the warning signs of pain, wobbling, or fatigue that mean it’s time to stop and talk with your prosthetist.
Quick Answer
- Check the prosthesis, liner, straps, foot shell, and outdoor shoe for damage, looseness, grit, or packed mud before walking.
- Build balance on familiar, level ground first, then practice outdoors briefly with a companion and nearby support.
- On grass, choose firm, level ground; take short, slow steps, plant the foot fully, and stop if it sinks or wobbles.
- On gravel or uneven ground, look ahead, choose firm patches, keep your weight centered, and pause if stones shift.
- Use a handrail or suitable walking aid when needed; stop for pain, excessive fatigue, or changing stiffness, and consult your prosthetist after a fall or new pain.
Walk Safely on Uneven Ground With a Prosthesis
As an amputee, I take grass, gravel, and uneven ground slowly. I treat them with more care than ordinary pavement.
I shorten my steps and keep my pace easy. I look several feet ahead for loose stones, dips, or wet patches.
A little patience saves me from an unplanned meeting with the ground. Every step on my prosthetic leg depends on how well the foot meets the surface.
Stability is easy to read on flat sidewalks. I watch how steadily I set down my prosthetic foot and whether my upper body sways.
On flat sidewalks, I gauge my stability by how steadily my prosthetic foot lands and whether my upper body sways.
Changing firmness and height underfoot make those signs harder to predict. On grass or rocky trails, my balance varies more, and slopes widen the sideways movement I must control.
I choose routes with firm edges and places to pause. I cross gravel in short, careful steps.
If my prosthetist recommends a walking pole, I use it on uneven paths because it adds a third point of support. I set my own pace and ignore the speed of people around me.
Falls can injure me and cost me my independence. So I go slowly and adapt to conditions as they change.
A crutch type with forearm alternatives can also offer added stability on these tricky surfaces.
Check Your Prosthesis Before You Go Outside
Before I head onto grass or gravel, I spend about one minute checking my prosthesis. A quick look now saves me from an awkward fix on the ground later.
I check the straps, screws, and foot shell for looseness, cracks, or packed mud. Good light makes these problems easy to spot, so I never have to guess.
If I wear a powered knee or ankle, I also check the battery and the warning lights. A warning light before a walk tells me to charge the unit first.
Next, I clear grit from the liner and look it over for tears or damp spots. Replacing a worn liner every 6–12 months is essential, so I track its condition carefully. Then I put on my socket and confirm that it feels secure and familiar.
I also make sure my outdoor shoe fits the foot shell. I remove any stones or mud from the tread so the shoe grips well.
I call this quick check a pre fit inspection, and it helps me judge whether my prosthesis is ready for uneven ground. If anything looks damaged, I call my prosthetist before I go outside.
Build Balance Before Tackling Rough Ground

A secure prosthesis helps me move with confidence, but I build my balance on smooth, familiar ground before I take on grass or gravel. I start near a sturdy kitchen counter, wearing supportive shoes that fit well.
I build confidence on smooth, familiar ground, starting beside a sturdy counter in supportive, well-fitting shoes.
I keep a chair or a trusted person within reach at all times. This extra support is sensible insurance while my balance improves.
Balance training works best when I practise briefly and often. I stop right away if I notice pain, dizziness, or unusual pressure from my socket.
I begin with easy weight shifts from one side to the other. Next, I add small marches in place, lifting my prosthetic foot only as high as feels comfortable.
Once those feel steady, I stand with my feet comfortably apart. Then I add simple stability drills, such as turning my head slowly or reaching toward a nearby object.
I hold each position for 10 to 20 seconds. I use the countertop for light support and repeat each exercise two or three times. Controlled tilting on a balance board can further sharpen my proprioception before I graduate to rougher terrain.
I train at a steady pace and keep my effort calm, so each session helps my body learn control. After a fall or a change in fit, I ask my prosthetist or physical therapist to tailor my exercises.
Walk on Grass With Short, Steady Steps
I take my first steps on grass slowly, with short, steady strides. I keep a clear patch of ground in sight and my gaze a few feet ahead.
I plant each foot fully so my prosthetic foot settles under my weight. I stop and look again whenever the turf hides a dip or a wet spot.
Grass can soften the feedback I get from the ground, so I do not rush. Short steps help me manage prosthetic ankle stiffness and check my step symmetry, which is the evenness of my stride. Non-skid rubber tips can help maintain steady contact on firmer surfaces, though grass requires extra caution.
I follow these four steps on every walk across grass. Each one has a clear purpose.
| Moment | What I do | Why it helps |
|---|---|---|
| Start | Pick firm, level turf | Fewer surprises |
| Step | Keep strides short | Easier control |
| Turn | Move in small arcs | Avoid sudden weight shifts |
| Reset | Stop, then recheck my socket fit | Catch discomfort early |
If I feel the prosthesis sink or wobble, I stop and find firmer ground. I then hold a rail or ask a companion to stand nearby.
I choose a route I can inspect before I set out, and I keep my steps short and my pace steady. I want my prosthesis to feel secure before I go any farther.
Cross Gravel With Your Prosthesis
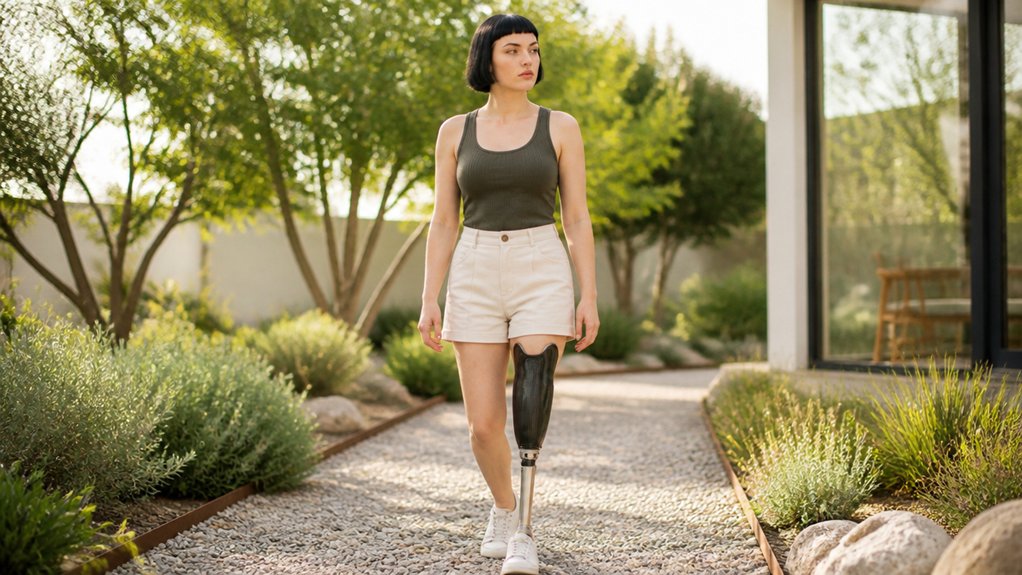
Gravel is one of the trickiest surfaces for me as an amputee, so I slow down and take short, deliberate steps. Loose stones can shift under my prosthetic foot without warning.
Slower speed gives me time to feel each change and place every step with care. I look ahead and pick firm patches before I reach them.
I keep my weight centered over my prosthetic foot and avoid stones that only look solid. Appearance tells me very little about how a stone will hold.
I land my heel gently, then roll forward only when the surface feels stable underfoot. I shorten my stride, which limits sudden shifts and reduces the load passing through my residual limb and joints.
If my balance feels uncertain, I use a trekking pole. Before I lean on it, I check that the tip has a firm grip in the gravel, just as I would verify that a pole’s tungsten steel tip is securely planted.
If stones roll under me, I stop and reset my footing before the next step. I don’t force a recovery, because my prosthetic foot can only grip as well as the ground allows.
I practice on a familiar stretch first. Once my control improves, I add distance in small steps.
I stop if I feel pain in my residual limb or slip more than once on the same route. Then I ask my prosthetist to check the fit of my socket and the alignment of my prosthesis.
Handle Slopes With Your Prosthesis
Slopes ask for slow, short steps. As a person with a leg amputation, I learned that charging uphill never works because the hill always wins.
Uphill, I lean slightly forward from my ankles and keep my eyes on the path. I plant each foot fully before I shift my weight onto it. For extra stability on loose terrain, I consider using a quad cane with anti-slip rubber tips that stands independently.
Downhill, I shorten my steps and keep my weight centered over my prosthetic foot. Rushing makes the foot feel less predictable, so I slow down and stay balanced.
Every slope is different, and my prosthesis may not adjust to the grade the way a natural ankle does. I check how my foot responds on each hill, especially after a long day on my feet.
Before I start, I look for a clear route. When a handrail is available, I use it, so I never depend on my prosthesis alone.
If a slope feels steep, uneven, or tiring, I stop and choose a gentler route. Safety comes first, even when the detour takes longer.
My rule stays simple: go slow, stay centered, and pause when the hill feels like too much. I also ask my prosthetist which settings work best for the hills I climb every day.
Practice Outdoor Walking With a Prosthesis
I practice walking outside with my prosthesis, and I’ve learned that grass and gravel need a slow start. I begin on a dry, level path near a handrail or a sturdy bench.
Keep the first outing short, about five minutes, and bring someone you trust. My balance may wobble at first, and yours might too. That wobble is feedback, not failure.
Pick firm grass before you try loose gravel, because gravel shifts under each step. Take shorter steps, pause often, and check where your prosthetic foot lands.
Practice turning and stopping before you add slopes or crowds. Pay attention to how tired you feel, any pain in your residual limb, and where ankle stiffness changes your stride.
Uneven ground can widen your stability swings, so walk the same route several times before you make it harder. A rigid prosthetic foot may limit quick adjustments, and no shoe or gadget guarantees safety. Consider using forearm crutches for added stability when navigating these uneven surfaces.
Ask your prosthetist to check the socket fit and recommend a walking aid that suits you. Make that appointment after any fall or whenever new pain appears.
I recommend gradual, supported practice outdoors. Each short outing builds confidence and control.
Frequently Asked Questions
Why Does Walking on Uneven Terrain Use More Energy Than Walking Indoors?
Walking on uneven terrain uses more energy than walking indoors because every step demands constant balance correction. My prosthesis cannot adapt its ankle naturally, so I widen my steps, increase my body sway, and stabilize each stride with extra care.
Those compensations add up quickly over a long hike, which is why my energy use climbs even when my pace stays the same.
One practical tip: before heading out on a trail, ask your prosthetist about a dynamic response foot or an adjustable ankle unit, since these can reduce the strain of compensating. Try shorter, more frequent steps on gravel or roots to keep your center of mass over your foot.
Can Changing Prosthetic Ankle Stiffness Improve Balance on Grass or Gravel?
Changing prosthetic ankle stiffness can shift how steady you feel on grass or gravel, but it has not reliably improved balance. Stiffness changes may alter your step, yet the benefit varies by surface and person.
As an amputee myself, I rely on terrain adaptability features more than dial tweaks alone. Ask your clinician about an ankle unit with adjustable damping for uneven ground.
Try this today: walk ten slow steps on a flat grass patch, keeping your trunk upright and pausing before each step. Note any wobble for your next fitting.
Grass and gravel raise fall risk, so test any stiffness change under supervision first.
Does a Flexible Prosthetic Toe Reduce Effort Compared With a Locked Toe?
A flexible prosthetic toe can reduce effort compared with a locked toe, but the benefit varies from person to person. In studies, users showed about 11% less positive hip work with a flexible toe, which means their hip muscles did less work to move the leg forward.
Toe stiffness has not consistently improved overall gait efficiency, so the toe that feels best is not always the most efficient. As someone who wears a prosthesis every day, I suggest a simple test: walk the same loop on level ground with each toe setting, then note which one leaves you less tired after twenty minutes. Ask your prosthetist to swap toes or stiffness inserts so you can compare them fairly.
Can Indoor Gait Tests Predict How I Will Walk Outdoors?
Yes, indoor gait tests can predict how you will walk outdoors, though they cannot capture every bump or slope. As an amputee who works with prosthetic components daily, I find them a reliable starting point.
Terrain analysis then explains how roughness changes your speed, effort, and balance. Try this today: walk a hallway at your normal pace, then repeat the walk over a folded rug.
Note any change in pace, hip hiking, or how hard your residual limb works. Bring those notes to your prosthetist, since small adjustments to socket fit or foot alignment can make a real difference.
Clinicians call this gait analysis, so ask about it at your next visit.
Why Might Stability Differ Between My Prosthetic and Sound Sides?
Your prosthetic side often feels less stable than your sound side because it lacks proprioceptive feedback, and socket fit can alter how well you control it.
Without sensation from the foot, you rely more on vision, so balance demands rise, especially on uneven ground.
Socket fit is a major factor because limb volume changes throughout the day. A socket that feels snug in the morning may feel loose by evening, which can make the leg feel unpredictable.
Try this today: stand on both legs and check for slipping or pistoning inside the socket. If it feels off, add or remove a ply sock before you walk.
Rounding Up
Uneven ground is manageable when you prepare, move slowly, and trust your own pace. I’d check your prosthesis before each outing, practice on a short, familiar route, and use a cane or handrail if it helps. Grass, gravel, and slopes each ask for small adjustments, not heroics; think of them as a trail map, not a test. If pain, wobbling, or fear grows, stop and ask your prosthetist for guidance. Steady steps beat brave guesses.